How do you insert a standard part in Solidworks?
- Open the assembly.
- In the Design Library task pane, under Toolbox , expand the standard, category, and type of the component to insert.
- Do one of the following:
- In the PropertyManager, do one of the following:
- Click .
In respect to this, how do you add parts in SolidWorks?
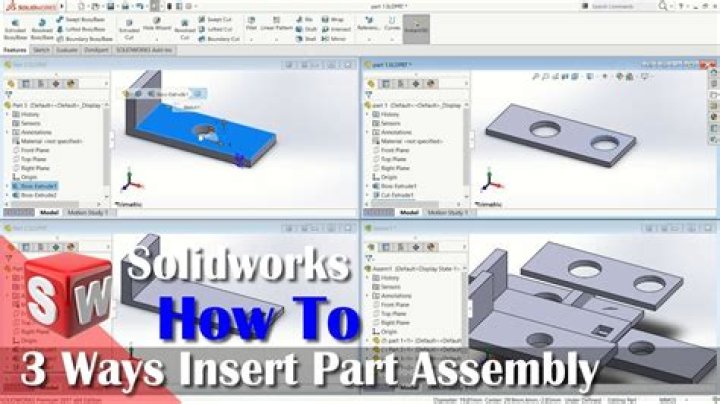
To insert a part:
- With a part document open, click Insert Part (Features toolbar) or Insert > Part.
- Browse to a part document and click Open.
- Under Transfer, select any combination of items from the inserted part to be included in the derived part.
Similarly, where is the Design Library in Solidworks? Design Library. The Design Library tab in the Task Pane provides a central location for reusable elements such as parts, assemblies and sketches. It does not recognize non-reusable elements such as SOLIDWORKS drawings, text files, or other non-SOLIDWORKS files.
Considering this, how do I add a design library in SolidWorks?
Add to Library PropertyManager
- Click Add to Library on the Task Pane Design Library tab.
- Right-click an item in the FeatureManager design tree and select Add to Library.
- Drag an item from the FeatureManager design tree into the lower pane of the Design Library.
- Drag an item from the graphics area into the lower pane of the Design Library.
What is solidworks toolbox?
SOLIDWORKS Toolbox is a time-saving library of Smart Parts and Supplier Standard Components, fully integrated with SOLIDWORKS. SOLIDWORKS Toolbox is included with SOLIDWORKS Professional and SOLIDWORKS Premium, the premium brand in affordable 3D CAD software.
Related Question Answers
How do I download a toolbox in Solidworks?
From the SOLIDWORKS menu, click Tools > Add-Ins . In the Add-Ins dialog box, under Active Add-ins and Start Up, select SOLIDWORKS Toolbox Utilities, SOLIDWORKS Toolbox Library, or both. You can also activate the SOLIDWORKS Toolbox Library add-in by clicking Add in now in the Toolbox Design Library task pane. Click OK.Where is the task pane in Solidworks?
Open SOLIDWORKS and right click in the Menu bar. From the right click Command Manager menu select Task Pane. The Task Pane will appear on the right hand side of the graphics window.How do you add Smart Fasteners in solidworks?
Smart Fasteners are added based on the Files options in the SOLIDWORKS Toolbox - User Settings dialog box. You can add fasteners to an assembly as a configuration of an existing part or as a copy of an existing part.Smart Fasteners Overview
- Click Tools > Add-ins.
- Select SOLIDWORKS Toolbox Library.
- Click OK.
How do you create male threads in Solidworks?
To make an external cosmetic thread:- On the top menu bar select Insert -> Annotations -> Cosmetic thread.
- Click on the circle that is the edge of the rod at the end that you want to thread.
- Select "ANSI Inch" standards, 3/8-24 NF threads, "blind threads," and the proper length.
How do you add a bolt and nut in SolidWorks?
To add nuts and washers at the end of a bolt:- Under Series Components, select a component in Add to Bottom Stack. The component is added to Bottom Stack .
- Select more components as needed. Add washers first, and the nut last. The hardware appears in order from the bolted surface toward the end of the bolt.
Does solidworks standard come with Toolbox?
SOLIDWORKS Toolbox. SOLIDWORKS Toolbox is a time-saving library of Smart Parts and Supplier Standard Components, fully integrated with SOLIDWORKS. SOLIDWORKS Toolbox is included with SOLIDWORKS Professional and SOLIDWORKS Premium, the premium brand in affordable 3D CAD software.How do you make teeth in Solidworks?
How to create gear- Click Front Plane and click on Sketch.
- Click on front face and click Normal To.
- Click Line and sketch gear teeth profile.
- Click Feature>Extruded Boss/Base.
- Set Instances to 22 and .
- Click on front face and select Sketch.
- Click on inner front face and select Sketch.
- Click on center face and select Sketch.
How do you make a helical gear in Solidworks?
Tutorial - Creating Helical Gear in SolidWorks?- Change the extrusion height and make it thicker.
- Insert>>Feature>>Flex.
- Choose flex type - Twisting and select the gear body as flex input.
- Enter the triad angle for x axis as 90degree.
- Enter flex angle(Helix angle) as 20degree. Click OK.
- We have the Helical gear created.
How do you draw a gear in Solidworks?
How to create gear- Click Front Plane and click on Sketch.
- Click on front face and click Normal To.
- Click Line and sketch gear teeth profile.
- Click Feature>Extruded Boss/Base.
- Set Instances to 22 and .
- Click on front face and select Sketch.
- Click on inner front face and select Sketch.
- Click on center face and select Sketch.
How do you draw a spur gear in Solidworks?
Tutorial - Creating Spur gear in SolidWorks?- Start SolidWorks in Part mode.
- Top plane>>sketch. Draw a circle.
- Extrude it.
- Top face>>sketch.
- Make a profile like this.
- Extrude cut it.
- Now select circular pattern under features tab.
- Now i have enable the view of temporary axis in view menu. This saved me time from creating axis since there is virtually an axis.
How do you make an I beam in Solidworks?
Adding a Structural Steel Beam to a Part- Make sure you are not currently editing a sketch, then select a plane or planar face in your part.
- Click Structural Steel (Toolbox toolbar) or Toolbox > Structural Steel .
- In the Structural Steel dialog box, select a standard, a beam type, and an available cross-section from the lists on the top left of the dialog box.